
The integration of QR codes and Google Forms is a powerful tool for tracking attendance in various settings such as classrooms, seminars, workshops, and even corporate gatherings. To start, you need to create a Google Form with the necessary fields such as name, email address, and any other data you wish to collect.
Once your form is set up, generate a QR code for it using one of many QR code generators available online. When scanned with a smartphone or tablet, this QR code will direct the user straight to your form, allowing them to fill in their information swiftly and efficiently. The completed forms are then automatically saved to your Google Drive, where they can be accessed and reviewed at any time. With this method, there is no need for physical sign-in sheets or manual data entry, reducing both paper waste and the possibility of human error.
Furthermore, it allows for real-time data collection and analysis, enabling you to monitor attendance statistics dynamically. The use of QR codes and Google Forms in tracking attendance not only streamlines the process but also makes the data easier to manage and analyze.

Step 1: Create a Google Form
Creating a Google Form is an efficient and streamlined process that can be achieved in a few simple steps. To begin, one must first access their Google Drive, which is a cloud-based storage platform that hosts Google’s suite of productivity applications. Once in Google Drive, a new form can be initiated by selecting the “New” button and then choosing “Google Forms” from the dropdown menu. This will open a new, blank form.
The user can now start customizing the form to suit their specific needs, including adding questions, options for answers, and personalized instructions. There are a variety of question formats to choose from, such as multiple-choice, short answer, and dropdown, which allows for adaptability based on the type of information being collected. The user also has the option to customize the visual design of the form through selecting a theme, adjusting colors, and adding images. This feature can help make the form more appealing and engaging for those filling it out.
Once the form is complete, it can be shared with others via email, a shared link, or embedded into a website. Google Forms also easily integrates with other Google applications, allowing for responses to be automatically compiled and organized in a Google Sheet for easy data analysis. In summary, creating a Google Form is a straightforward process that allows for the efficient collection and organization of data, with a wide range of customization options to meet various needs and preferences.
Step 2: Generate the Form Link
After creating the digital form, the next crucial step is to generate the form link. This process involves securing a unique URL that leads to the specific form you wish to share. This link can then be distributed to the individuals who need to fill out the form. It can be shared through various mediums such as email, text message, social media, or even embedded in a website. To generate the form link, you typically need to navigate to the ‘share’ or ‘publish’ section within the form builder tool.
Once there, you should be able to find the option to generate a link. Click on it, and the software will automatically create a unique URL for your form. Remember to copy this link and save it properly, as it is the key to accessing your digital form. In some cases, you may have the option to shorten the link or customize it to suit your needs better. This feature often comes in handy when you want to share the link in a physical format, such as printed on a flyer, where a shorter URL would be more convenient.
It’s also worth mentioning that some form builder tools allow you to track the form link, giving you insights into how many people have accessed the form or completed it. This analytic feature can provide valuable data for your business or project. Therefore, generating the form link is a crucial step not only in sharing the form but also in tracking its usage and effectiveness.
Step 3: Create a QR Code
Step 3: Create a QR Code is a critical process in the digital world. QR codes, or Quick Response codes, are two-dimensional barcodes that can be scanned using a smartphone camera to quickly link users to websites, applications, or information. To create a QR code, you first need to decide what it will link to. This could be a website, a video, a social media page, or even a PDF. Once you’ve decided on the content, you can use an online QR code generator.
These are platforms that assist in creating your own custom QR codes. They are easy to use and often offer various options for customization. You simply enter your chosen URL or information, and the generator will create a unique QR code for you. You can then download this QR code in a format that suits your needs, such as JPG or PNG. It’s important to test your new QR code to ensure it works correctly and leads to the intended destination.
Finally, you can start using your QR code on marketing materials, product packaging, or wherever else you want to provide a fast, efficient link to your chosen content. Remember to keep track of scans and usage to understand the effectiveness of your QR code and tweak its placement or content as necessary. Creating a QR code can be a powerful tool in your digital strategy, providing a seamless connection between the physical and online world.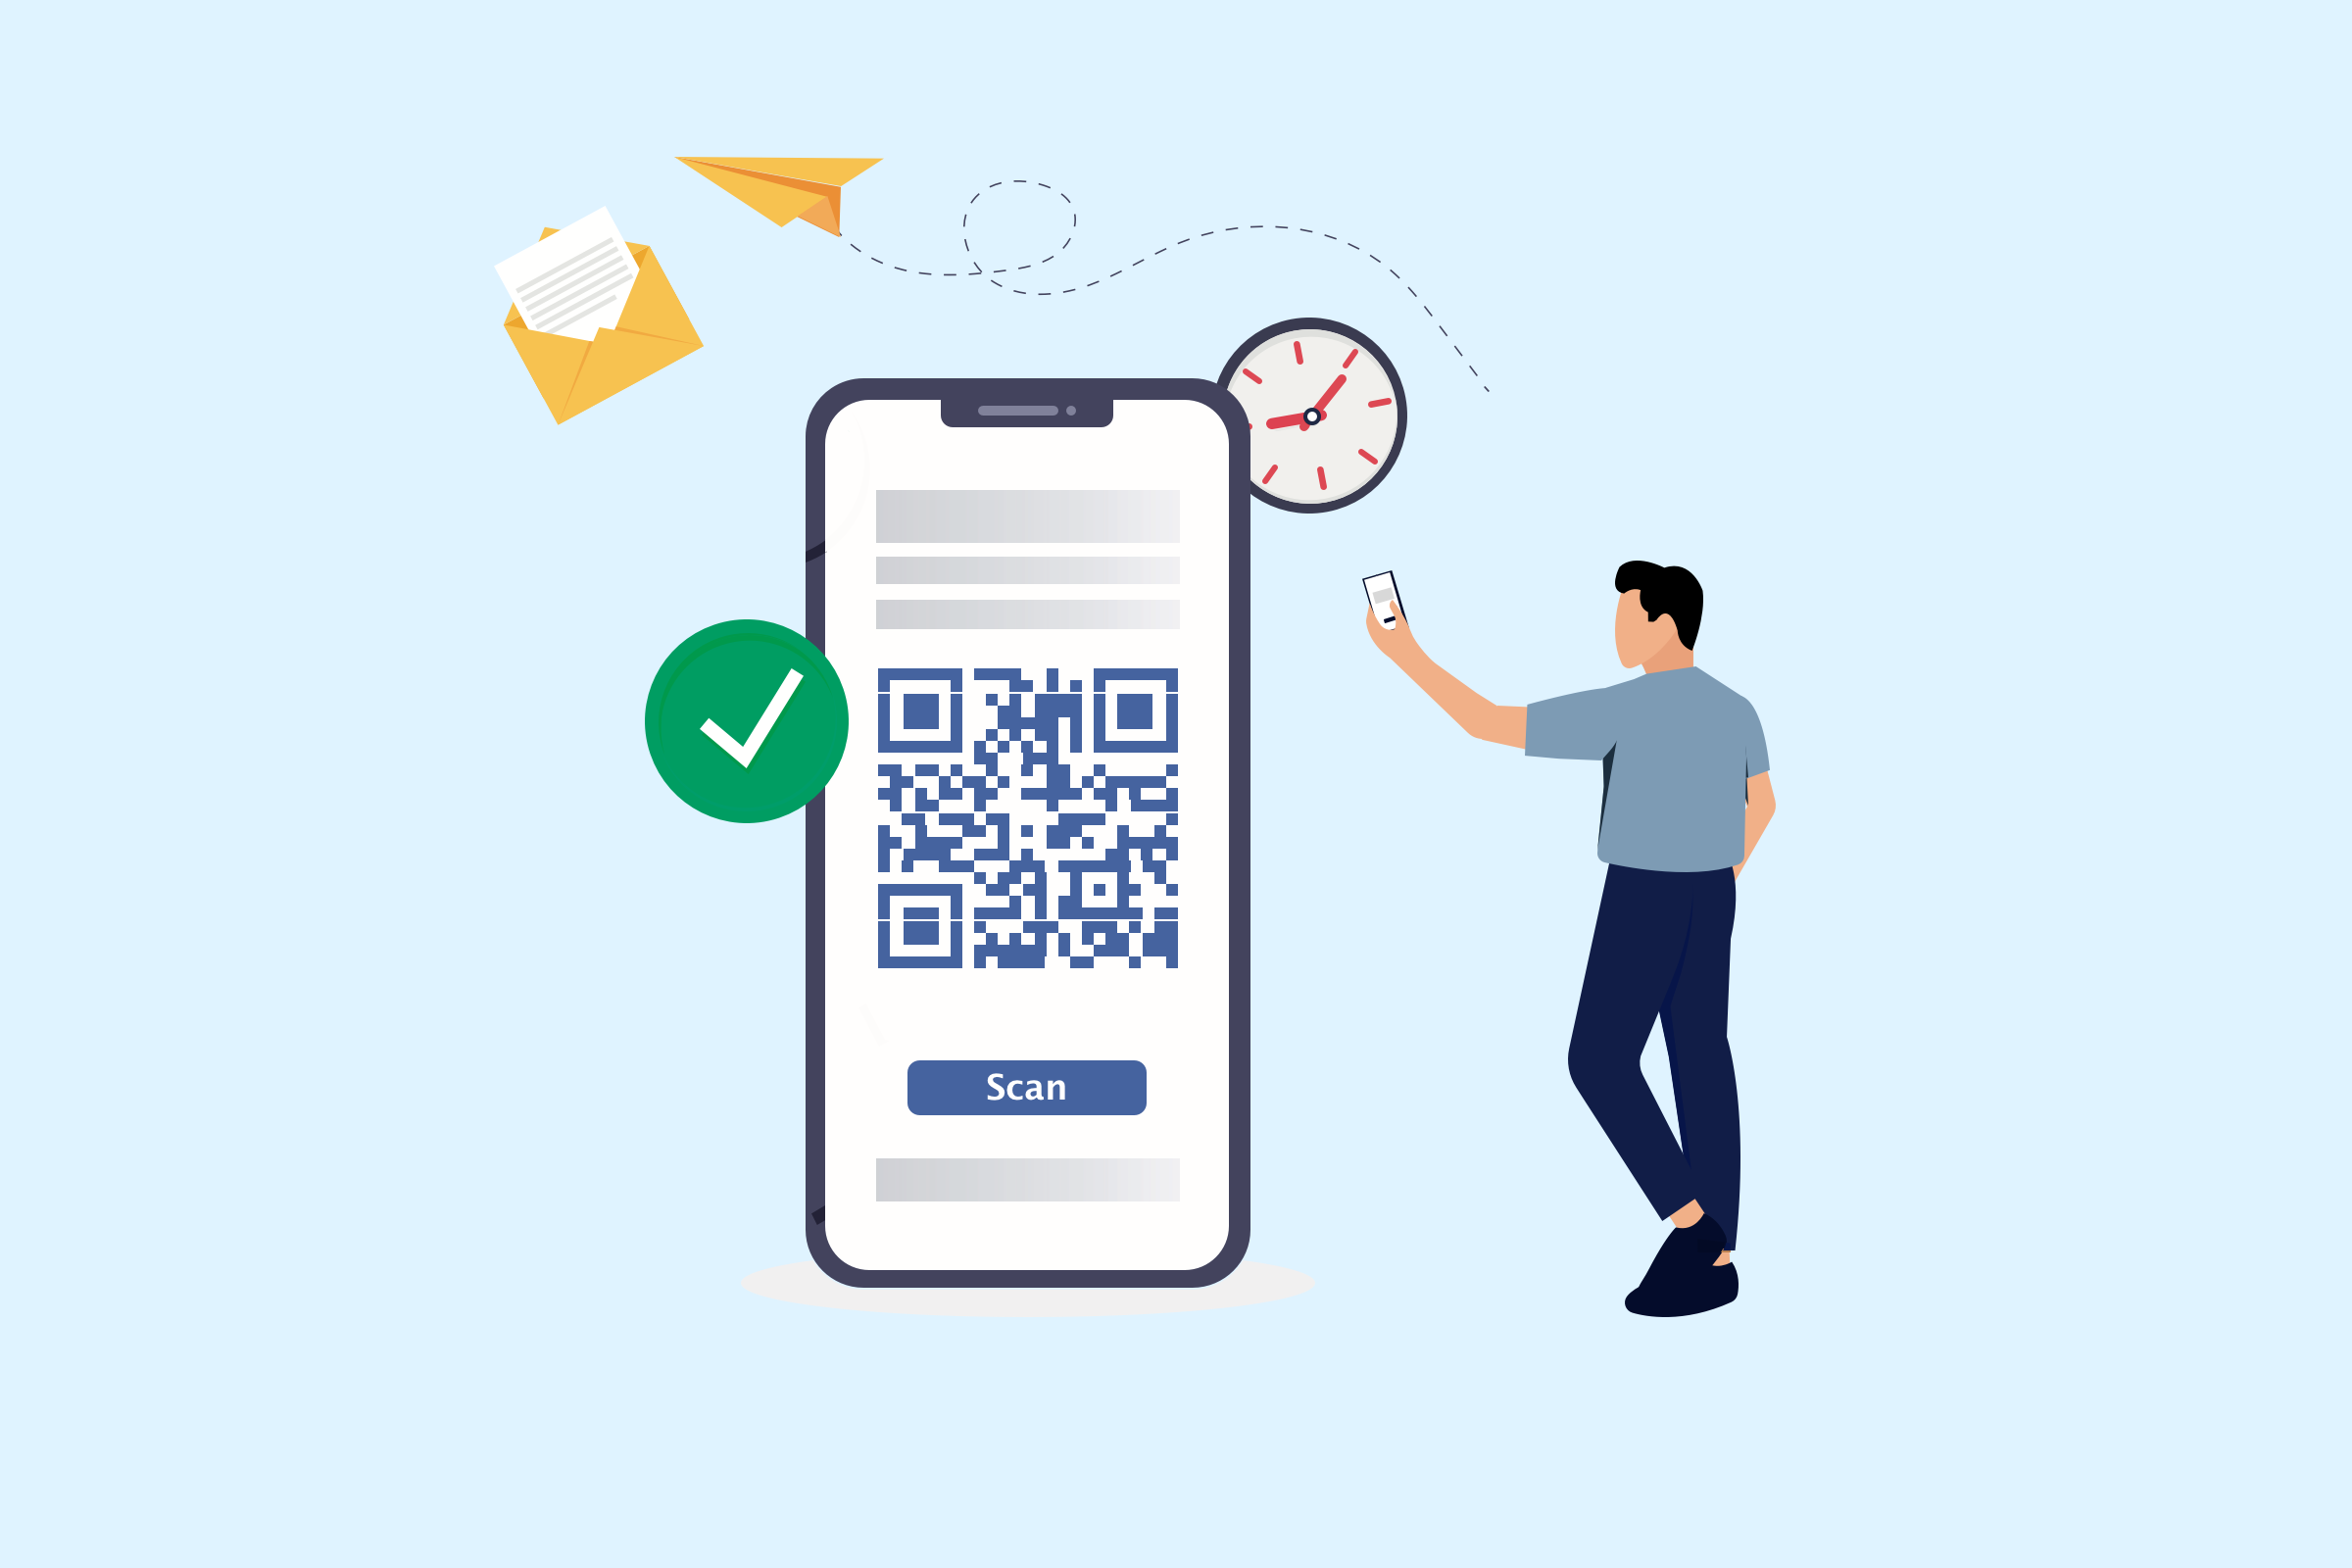
Step 4: Distribute the QR Code
After creating a unique QR code, the fourth step involves its distribution. This step is crucial as it determines how effective the code will be in achieving its intended purpose. Distribution of the QR code can be achieved through various strategies depending upon the target audience and the objective of the QR code. For example, if the QR code is designed for a marketing campaign, it can be printed on product packaging, promotional materials like flyers, banners, newspaper ads, or digital platforms like social media posts, emails, and websites.
Alternatively, if it’s for a specific event, it can be sent directly to attendees via email or text message. It’s essential to place the QR code where it’s easily visible and accessible for scanning. The QR code should be of high quality, ensuring that it’s easy to scan. Ensure there’s a clear call-to-action near the QR code, explaining what users will get after scanning.
This could be anything from a discount, a link to a website, or access to exclusive content. Monitoring the performance of the QR code is also crucial to understand its effectiveness and make necessary adjustments. This could be achieved through analytics, which provide valuable insights into the number of scans, location, time, and the devices used. Remember, the key to a successful QR code campaign is its strategic distribution.
Step 5: Attendees Scan the QR Code
In Step 5 of the process, attendees are required to scan the QR code provided. This barcode, which appears as a matrix of small squares, is typically presented on a poster, screen, or handout. The participants use their smartphones to decode this unique graphic symbol. This scanning process is straightforward and quick, it usually involves the attendee opening their phone’s camera and pointing it at the QR code.
Once the camera focuses on the code, it automatically recognizes the pattern and triggers a specific action, such as opening a webpage or downloading an app. This technology has become increasingly popular for its convenience and efficiency. It eliminates the need for typing in long web addresses or searching for specific sites or pages. In the context of an event, the QR code might redirect attendees to a digital platform with more information about the event, a feedback form, or even a virtual meeting room.
The use of QR codes also facilitates the digital tracking of attendance, allowing event organizers to gather data about participant engagement. It’s important to note that the scanning process requires an internet connection and a smartphone with a functioning camera. Overall, this step of scanning the QR code is a crucial part of the digital interaction between the event and its attendees, providing an easy and efficient way to share information or direct participants to specific online locations.
 Step 6: Monitor and Analyze Responses
Step 6: Monitor and Analyze Responses is a critical phase in any strategic process, whether it pertains to business, marketing, education, or social initiatives. It involves observing, recording, and interpreting the reactions or feedback received in response to an action, project, or strategy that has been implemented. The purpose of this stage is to gain insight into the effectiveness of the action or strategy, to understand the behavior and preferences of the audience or stakeholders, and to identify areas of improvement.
In the realm of business, for instance, this could involve monitoring customer responses to a new product launch, analyzing sales data, and tracking social media engagement or website traffic. In education, it could mean assessing student performance and feedback in response to a new teaching method. In social initiatives, it may involve gauging public sentiment and participation in response to a campaign or policy.
The gathered data is then analyzed using various analytical tools and techniques to draw meaningful conclusions. These insights are invaluable for refining the strategy or action plan, making necessary adjustments, and enhancing future performance. The monitoring and analysis should be an ongoing process, rather than a one-time effort, to ensure sustained effectiveness and adaptability in changing scenarios.
It’s important to note that the responses monitored and analyzed are not limited to positive ones. Negative feedback or lack of response can be equally informative, revealing gaps in the strategy, areas of disconnect, or unmet needs. Therefore, the objective is not merely to tally the positive responses but to derive a comprehensive understanding of the reaction spectrum.
Moreover, it’s critical to approach this process objectively, without bias, and to base conclusions and subsequent actions on reliable, accurate data. In essence, Step 6: Monitor and Analyze Responses is an integral, iterative, and enlightening part of any strategic process, geared towards continuous learning, improvement, and success.
Conclusion
In academia, business, and various other fields, reaching a conclusion is an integral part of the process. A conclusion is the final part of something, often a discussion, analysis, or a piece of writing. It is the point at which all the pieces of an argument are brought together, the essence of the entire discussion is encapsulated, and a final viewpoint is presented. It’s neither the beginning nor the middle, but the end that leaves a lasting impression; hence, it is crucial to ensure it is impactful and clear.
It is the summary of everything that has been said or written, presented in a condensed and succinct manner. It is an assessment of all the available information and the ultimate decision or judgement that is derived from it. An effectively drawn conclusion provides a sense of closure and a clear understanding of the subject at hand. It can also impart a sense of continuity, leading the reader or listener towards future considerations on the topic.
In essence, a conclusion is not merely an end, but a significant culmination that ties together all disparate parts into one cohesive whole. It is the final opportunity to make an impression, present your stance, and leave your mark on the reader’s or listener’s mind. Therefore, a well-structured conclusion is as important as an engaging introduction and a substantial body in any discourse.